What can planting a tiny seed teach us about growth, patience, and care?
Starting plants from seed can be a powerful activity within a Therapeutic Horticulture program, inviting participants to slow down, observe the stages of growth, and engage with nature through hands-on care. Whether you’re interested in vegetables, herbs, or flowers, growing from seed is rewarding, educational, and cost-effective. It allows you to get an early start, experiment with unique varieties, and enjoy the satisfaction of nurturing plants from their earliest stage to maturity.
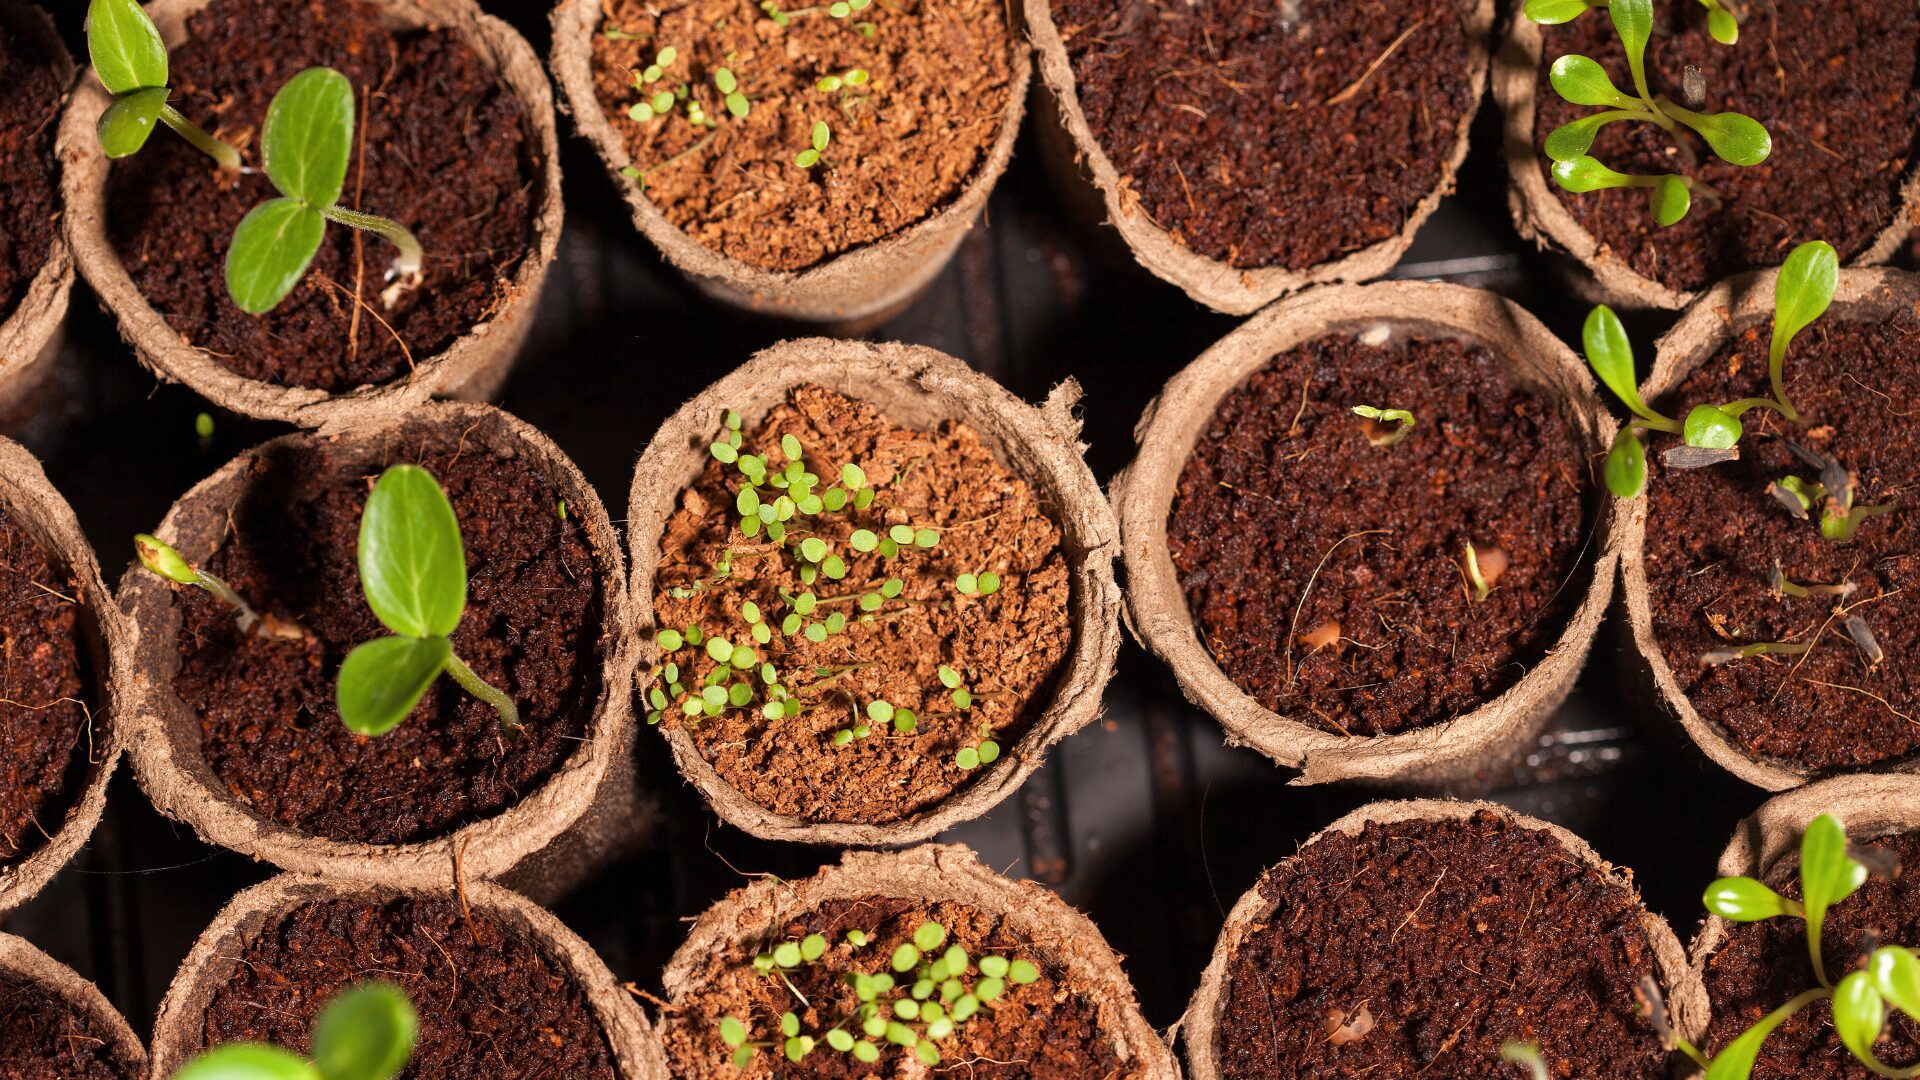
At Root in Nature, we often see how planting seeds inspires curiosity, patience, and mindfulness. From the first tiny sprout to thriving plants, growing from seeds offers opportunities to explore, experiment, and reflect, all while engaging in hands-on gardening.
This guide will walk you through the benefits of growing from seeds, the materials and conditions needed, starting methods and techniques, basic care and transplanting, common challenges, and reflection practices that connect gardening to personal growth.
Table of Contents
Key Takeaways
- Starting plants from seed is cost-effective and expands plant variety
- Seeds need light, warmth, moisture, and well-draining soil
- Common methods include seed trays, paper towel germination, and direct sowing
- Seed starting supports learning, mindfulness, and therapeutic horticulture
Benefits of Growing Plants from Seed
Starting from seed offers advantages that appeal to gardeners of all levels:
1. Get an Early Start
Seed starting can help you get a head start on the growing season, especially if you don’t intend to buy any seedlings from a nursery to supplement what you grow from seed. By starting seeds indoors, you can grow plants several weeks before outdoor conditions are suitable and transplant them once the weather warms. This early start also allows many plants more time to mature and produce throughout the growing season, which can result in higher yields.
2. Explore Unique Varieties
Growing from seed opens access to unusual or heirloom varieties that aren’t always available at garden centers. Plants like lemon cucumbers, black indigo tomatoes, or other varieties that may be native to a person’s country of origin—and hold cultural significance to them—can be difficult to find as mature starts. Seeds allow you to grow these unique plants yourself, making it possible to experiment with varieties that add colour, flavour, personal meaning, and cultural connection to your garden.
3. Save Money
Though growing from seed has a higher energy and labour expenditure, seed packets are often far more economical than nursery plants. A single packet can contain 50–100 seeds, offering planting opportunities over several seasons for a fraction of the price of one mature plant. Over time, starting from seed reduces costs and allows you to try a wider variety of plants.
4. Learn and Grow
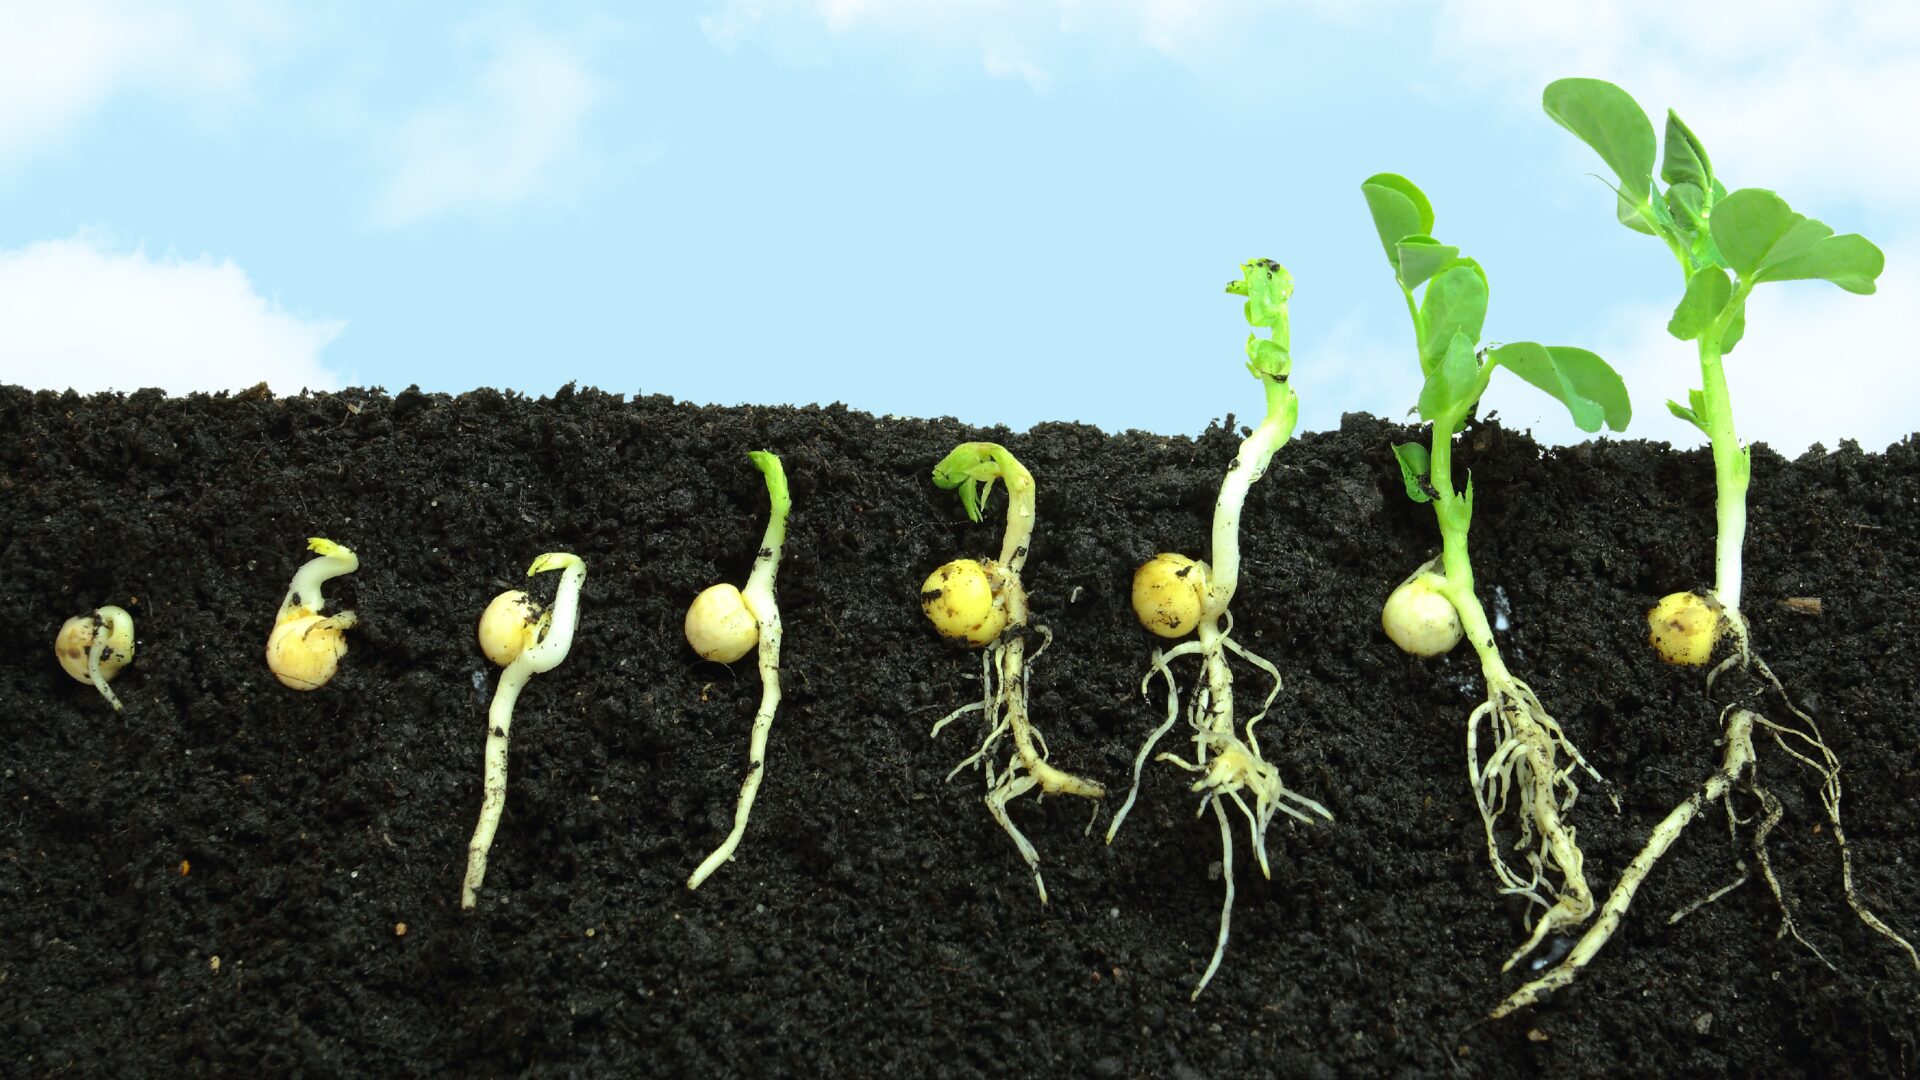
Seed starting provides a hands-on education about the plant life cycle. Observing germination, sprouting, and early growth teaches practical lessons about plant care, root development, and environmental needs. Even when seeds fail, they provide insight and experience that strengthen gardening skills and can be used therapeutically as a metaphor for learning through trial and error, patience, and the reality that not every effort leads to success, but each attempt contributes to growth and understanding.
5. Experience Pride and Accomplishment
Starting seeds yourself allows you to follow the plant’s development from the very beginning. Watching that first tiny sprout emerge is a rewarding and tangible moment that reflects your patience and planning, offering a sense of accomplishment and confidence as the growing season begins.
6. Opportunities for Reflection
Seeds encourage mindfulness. Each stage of development — from sprouting to growth — is a reminder that progress requires patience, attention, and nurturing. Observing small beginnings can teach valuable lessons about persistence and care in life beyond the garden.
Materials and Conditions Needed
Successful seed starting begins with the right tools and environment:
Seeds
Choose high-quality seeds suited to your region, season, and garden goals. Seed packets include important information:
- Germination rate (expected success percentage)
- Planting depth and spacing
- Indoor/outdoor planting times
- Days to maturity
- Sunlight and water requirements
Reading and following these instructions ensures the best start for your seeds.
Growing Medium
Seeds thrive in nutrient-rich, well-draining mediums. Options include:
- Commercial seed-starting mixes
- Soilless mixes like coconut coir or hemp mats
- Paper towels or water for germination observation
- Vermiculite or perlite for drainage and airflow
These mediums retain moisture while allowing roots to grow strong and healthy.
Containers
Drainage is key to prevent waterlogging. Suitable options include:
- Seed trays and small pots
- Household items like yogurt cups, takeout containers (with drainage holes punched in them), egg cartons, or toilet paper rolls
Upcycling containers is cost-effective and environmentally friendly.
Check out this resource from the GrowTH Network Resource Library on sustainable pot options.
Labels
Clearly label each container with plant type and planting date. Recording the planting date also allows you to note how long it takes for seedlings to reach the size you prefer for transplanting into a larger pot or directly into the ground, so you can repeat that timing more accurately in future seasons. Materials like popsicle sticks, paint sticks, spoons, or recycled items work well and help track progress.
Light and Heat
Seeds and seedlings need adequate light for strong growth. South-facing windows in the northern hemisphere and north-facing windows in the southern hemisphere provide natural sunlight, but grow lights can supplement low light conditions. Heat mats can gently warm soil for warmth-loving seeds, giving seedlings a “heated floor” to encourage root growth.
Water
Transplanting involves moving young plants from their initial germination environment into a larger container or into the garden. Seed-starting mixes should stay consistently damp but never soggy. Proper watering techniques include:
- Fine-rose watering cans
- Mist spray bottles or handheld, pump-action sprayers
- Bottom watering via shallow trays
Consistent, gentle watering establishes strong roots while preventing rot or drying out.
Choosing Seeds Thoughtfully
Consider your preferences and garden goals: What produce do you enjoy? What colors or textures inspire you? Which plants are hard to find locally? Intentional seed selection enhances both practicality and enjoyment.
Basic Conditions for Successful Seed Starting
| Factor | What Seeds Need | Why It Matters |
|---|---|---|
|
Light |
Bright natural light or grow lights |
Prevents weak, leggy seedlings |
|
Moisture |
Soil kept consistently damp but not soggy |
Supports germination and root development |
|
Temperature |
Usually 18–24°C (65–75°F) |
Warm soil encourages faster germination |
|
Soil |
Light, well-draining seed-starting mix |
Allows roots to grow and prevents rot |
|
Airflow |
Gentle airflow around seedlings |
Reduces mold and strengthens stems |
|
Space |
Proper spacing or thinning |
Prevents competition for nutrients and light |
Starting Methods and Techniques
Once you have your materials ready, it’s time to start your seeds. The method you choose depends on the type of seed, your space, and how closely you want to observe germination. Here are step-by-step approaches to get your seedlings off to a strong start:
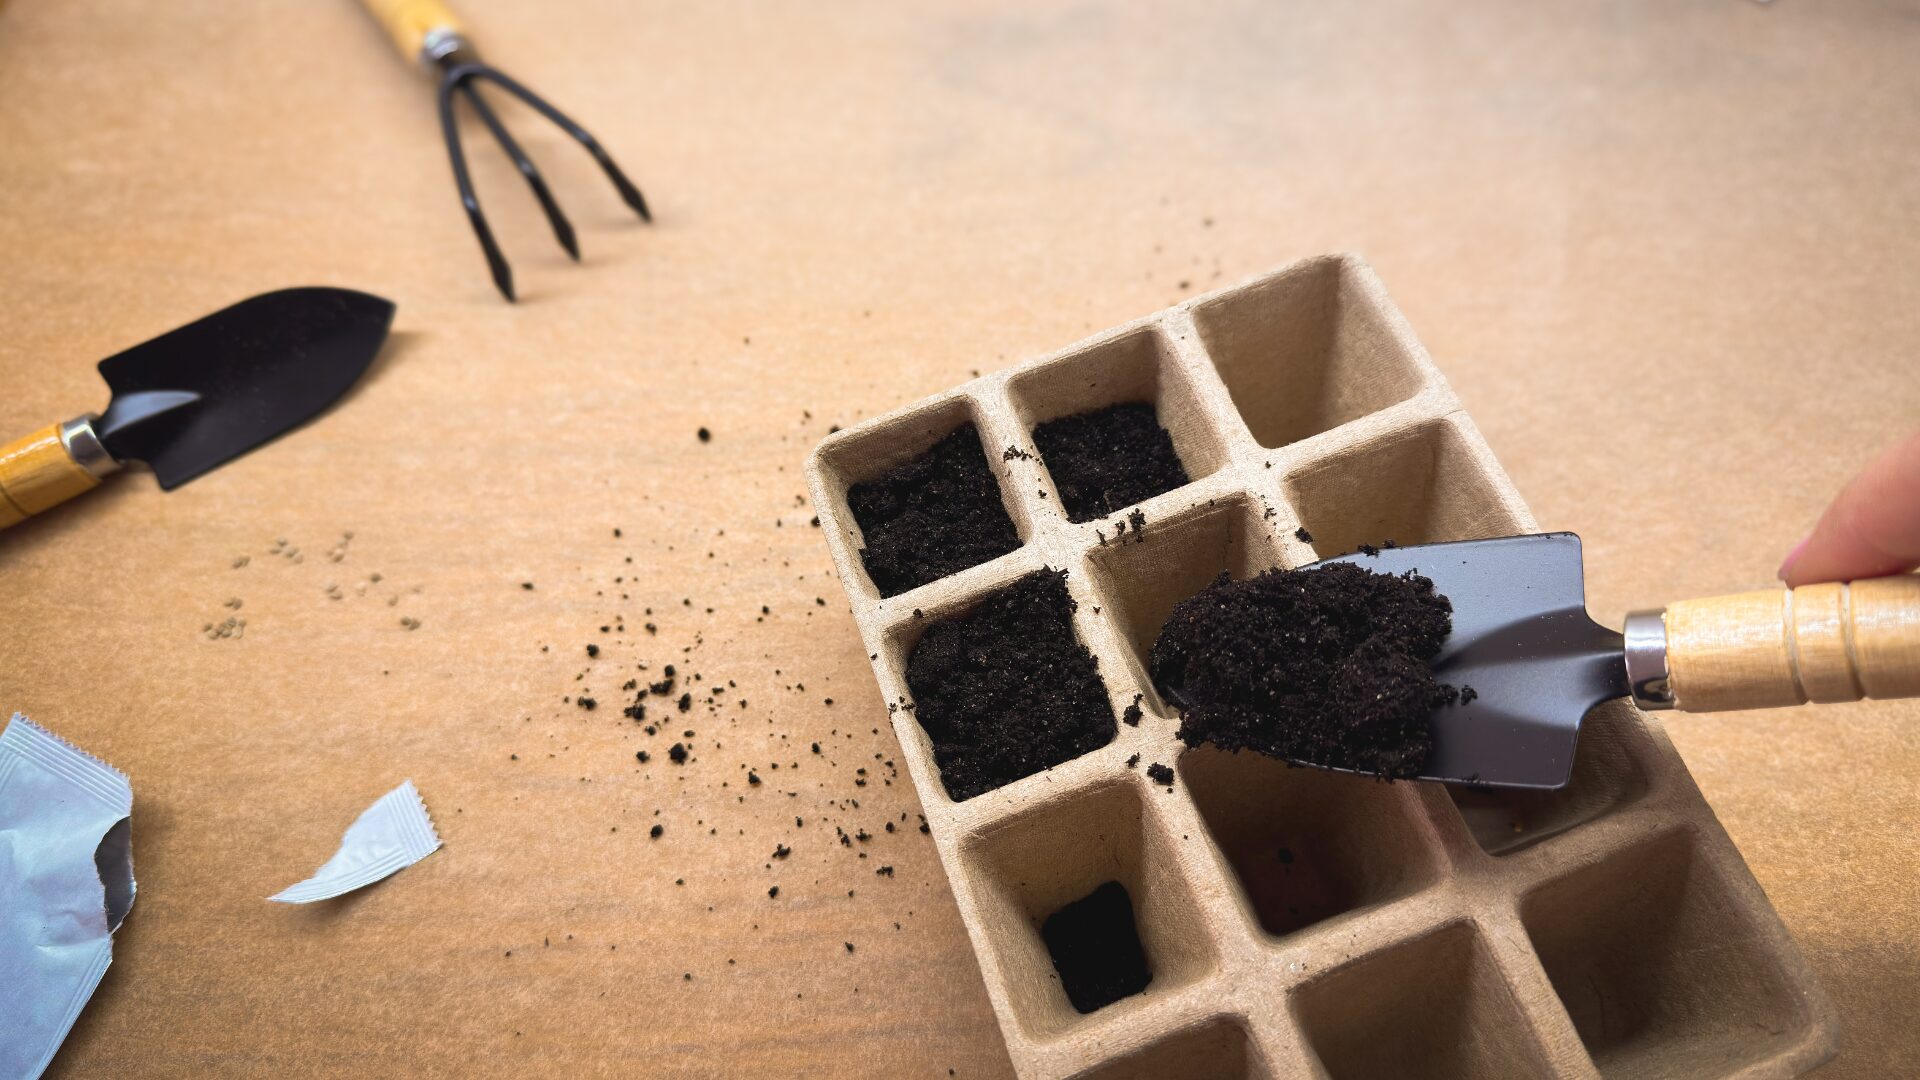
1. Seed-Starting Mix in Containers
Step-by-step:
- Fill your container or tray with a nutrient-rich, well-draining seed-starting mix.
- Check the seed packet for planting depth and spacing, and sow the seeds accordingly.
- Gently press the seeds into the soil and lightly cover with more mix if instructed.
- Water carefully to dampen the soil — it should be moist, not soggy.
- Place your container in a bright location, such as a south-facing window, or under grow lights.
- Optional: Use a heat mat for warmth-loving seeds to encourage faster germination.
- Monitor daily, keeping the soil damp and ensuring seedlings have adequate light.
Why this works: This method gives seeds a stable, nutrient-rich environment while allowing for controlled watering, light, and spacing. It’s ideal for most vegetable, herb, and flower seeds.
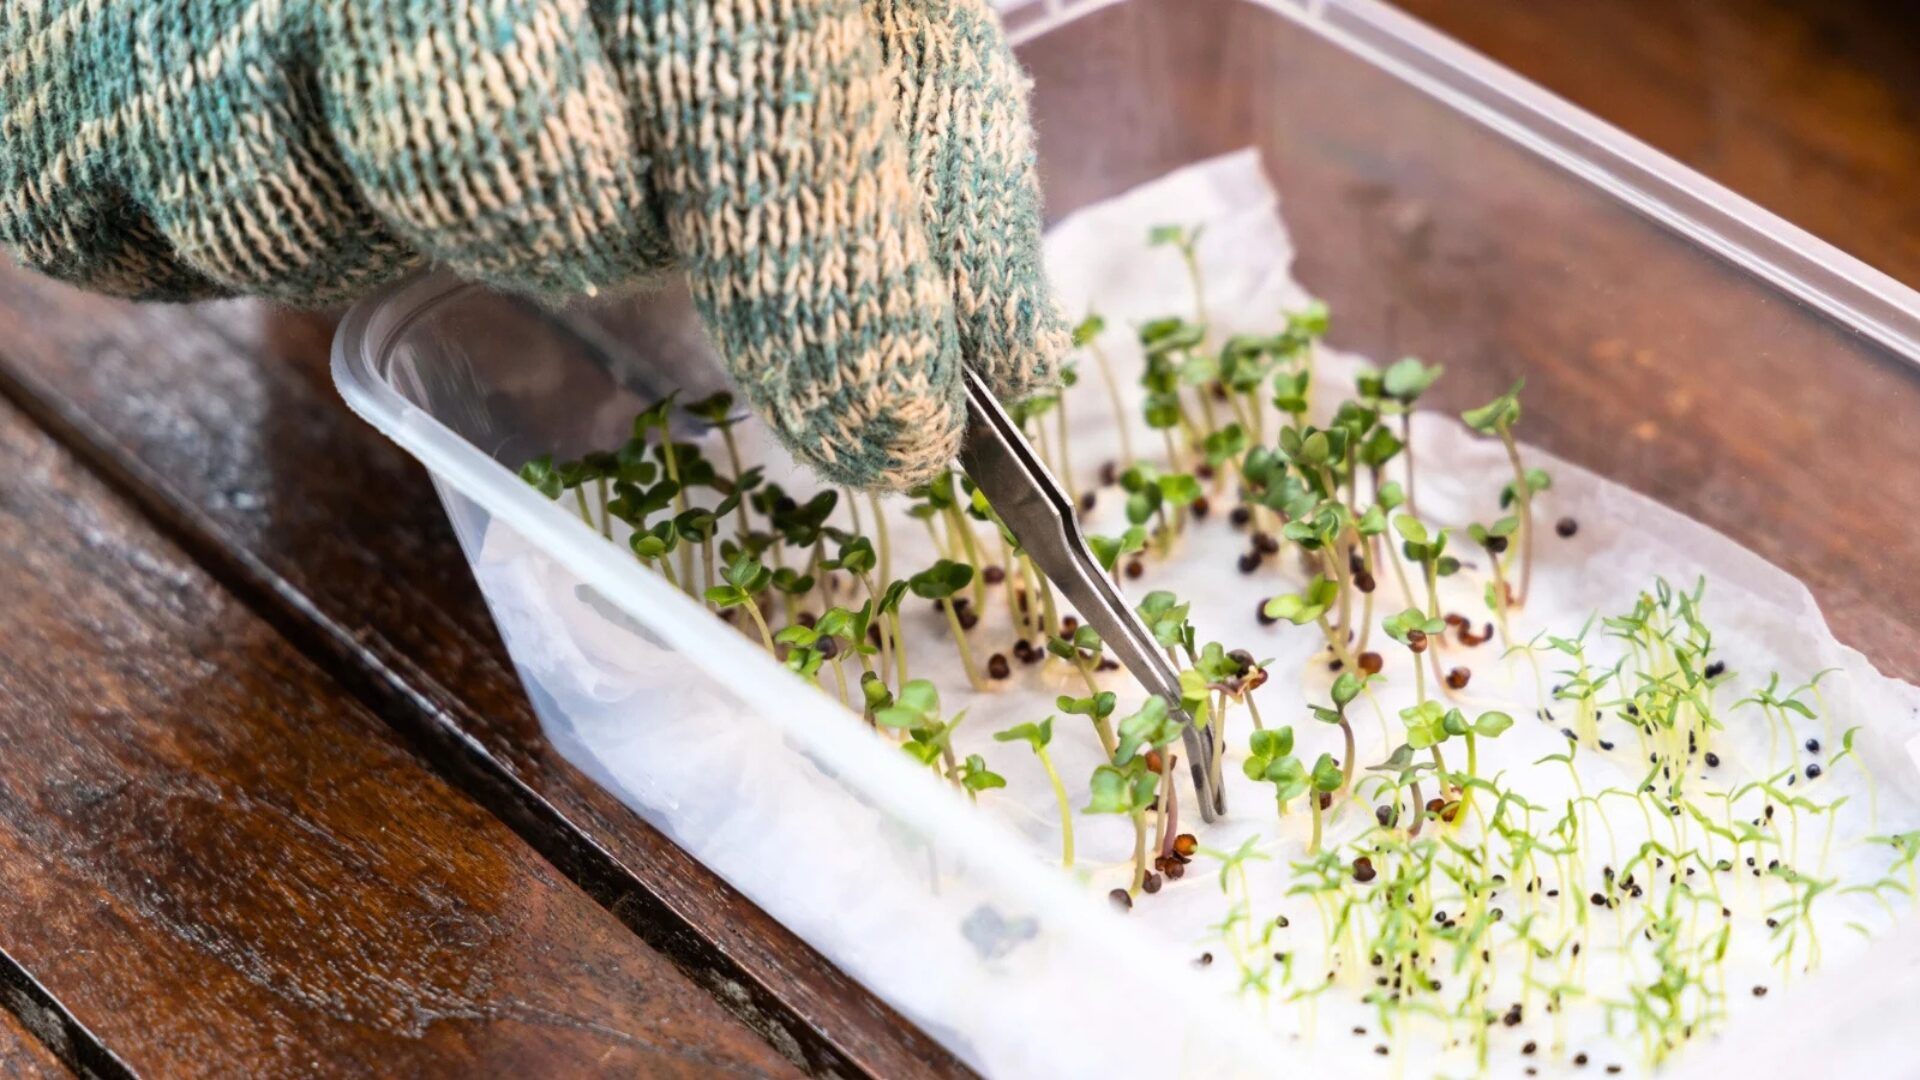
2. Paper Towel or Water Germination
Step-by-step:
- Moisten a paper towel or piece of cloth and place your seeds on it.
- Fold the paper towel over the seeds or place them between two damp layers.
- Keep the towel in a shallow container or zip-top bag to retain moisture.
- Place the container in a warm area, such as near a sunny window or on a heat mat.
- Check daily to ensure the towel remains damp.
- Watch as seeds sprout — tiny roots and shoots will emerge within days to weeks, depending on the variety.
- Once the seedlings have visible roots, carefully transfer them to a container with seed-starting mix. Handle the delicate roots gently to avoid damage.
Why this works: This method allows for close observation of germination, perfect for educational purposes or to track tricky seeds. It’s a low-mess option that gives you confidence before committing seedlings to soil.
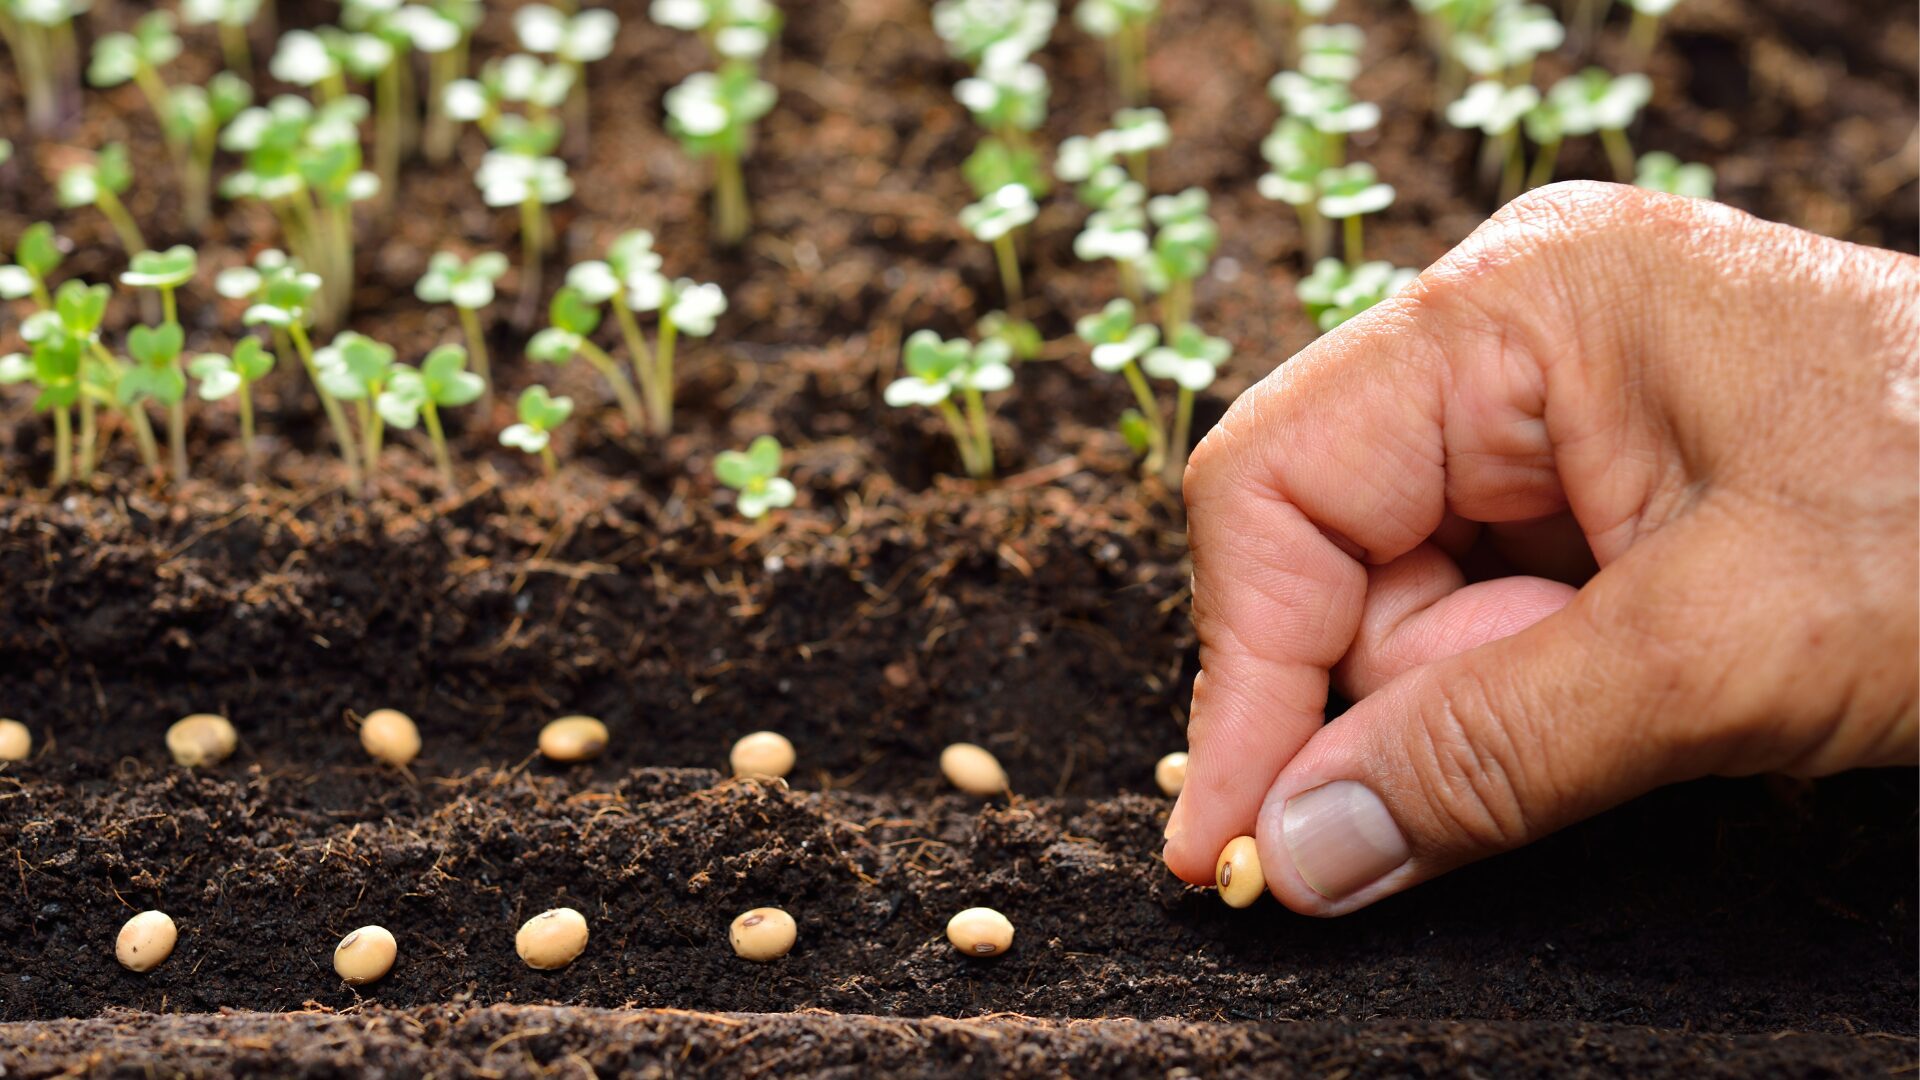
3. Direct Sowing (Optional)
Some seeds, like peas, beans, or sunflowers, do well when sown directly into garden soil.
Step-by-step:
- Prepare the soil by loosening it and removing weeds.
- Sow seeds at the depth recommended on the seed packet.
- Space seeds according to instructions to prevent overcrowding.
- Water gently to settle the soil around the seeds.
- Monitor soil moisture, keeping it damp until seedlings emerge.
Why this works: Certain hardy seeds prefer to germinate in their final growing location. Direct sowing eliminates transplant shock and reduces the need for indoor setup.
Tips For All Methods
- Label clearly: Write the seed type and date of sowing on your container or bag.
- Maintain consistent moisture: Seeds should never dry out or sit in water.
- Light and warmth: Seedlings grow roots toward warmth and shoot toward light — think of it as giving them “heated floors and sunny windows.”
- Observation: Daily checks allow you to notice early signs of growth, fungal issues, or overcrowding.
Basic Steps for Care
Caring for seedlings involves attention, patience, and gentle guidance:
- Sow Seeds: Follow seed packet instructions for depth and spacing.
- Maintain Moisture: Keep soil damp, not soggy.
- Provide Light: Ensure seedlings receive enough light to prevent leggy growth.
- Thin Seedlings: Reduce overcrowding after germination to allow healthy development.
- Fertilize Sparingly: Wait for true leaves before using diluted fertilizer.
- Observe Growth: Watch for stress, pests, or improper conditions, adjusting care as needed.
Gradual Exposure: Harden seedlings off before outdoor planting to reduce shock.
Transplanting and Hardening Off
Transplanting
Transplanting involves moving young plants from their initial germination environment into a larger container or into the garden. Seedlings eventually outgrow containers and need more space. Transplant carefully to avoid damaging roots or stems. Moving seedlings to larger pots or directly to the garden promotes stronger growth and long-term success.
Hardening Off
Gradually acclimate seedlings to outdoor conditions to reduce transplant shock. Steps include:
- Place seedlings in a shaded, protected spot for a few hours daily
- Slowly increase exposure to sunlight, wind, and temperature over 1–2 weeks. This can be achieved using the various levels of shade under the canopy of a tree or under a temporary or permanent shelter covered with shade fabric.
This helps seedlings adapt to outdoor life and thrive once planted in the garden.
Common Mistakes and Challenges
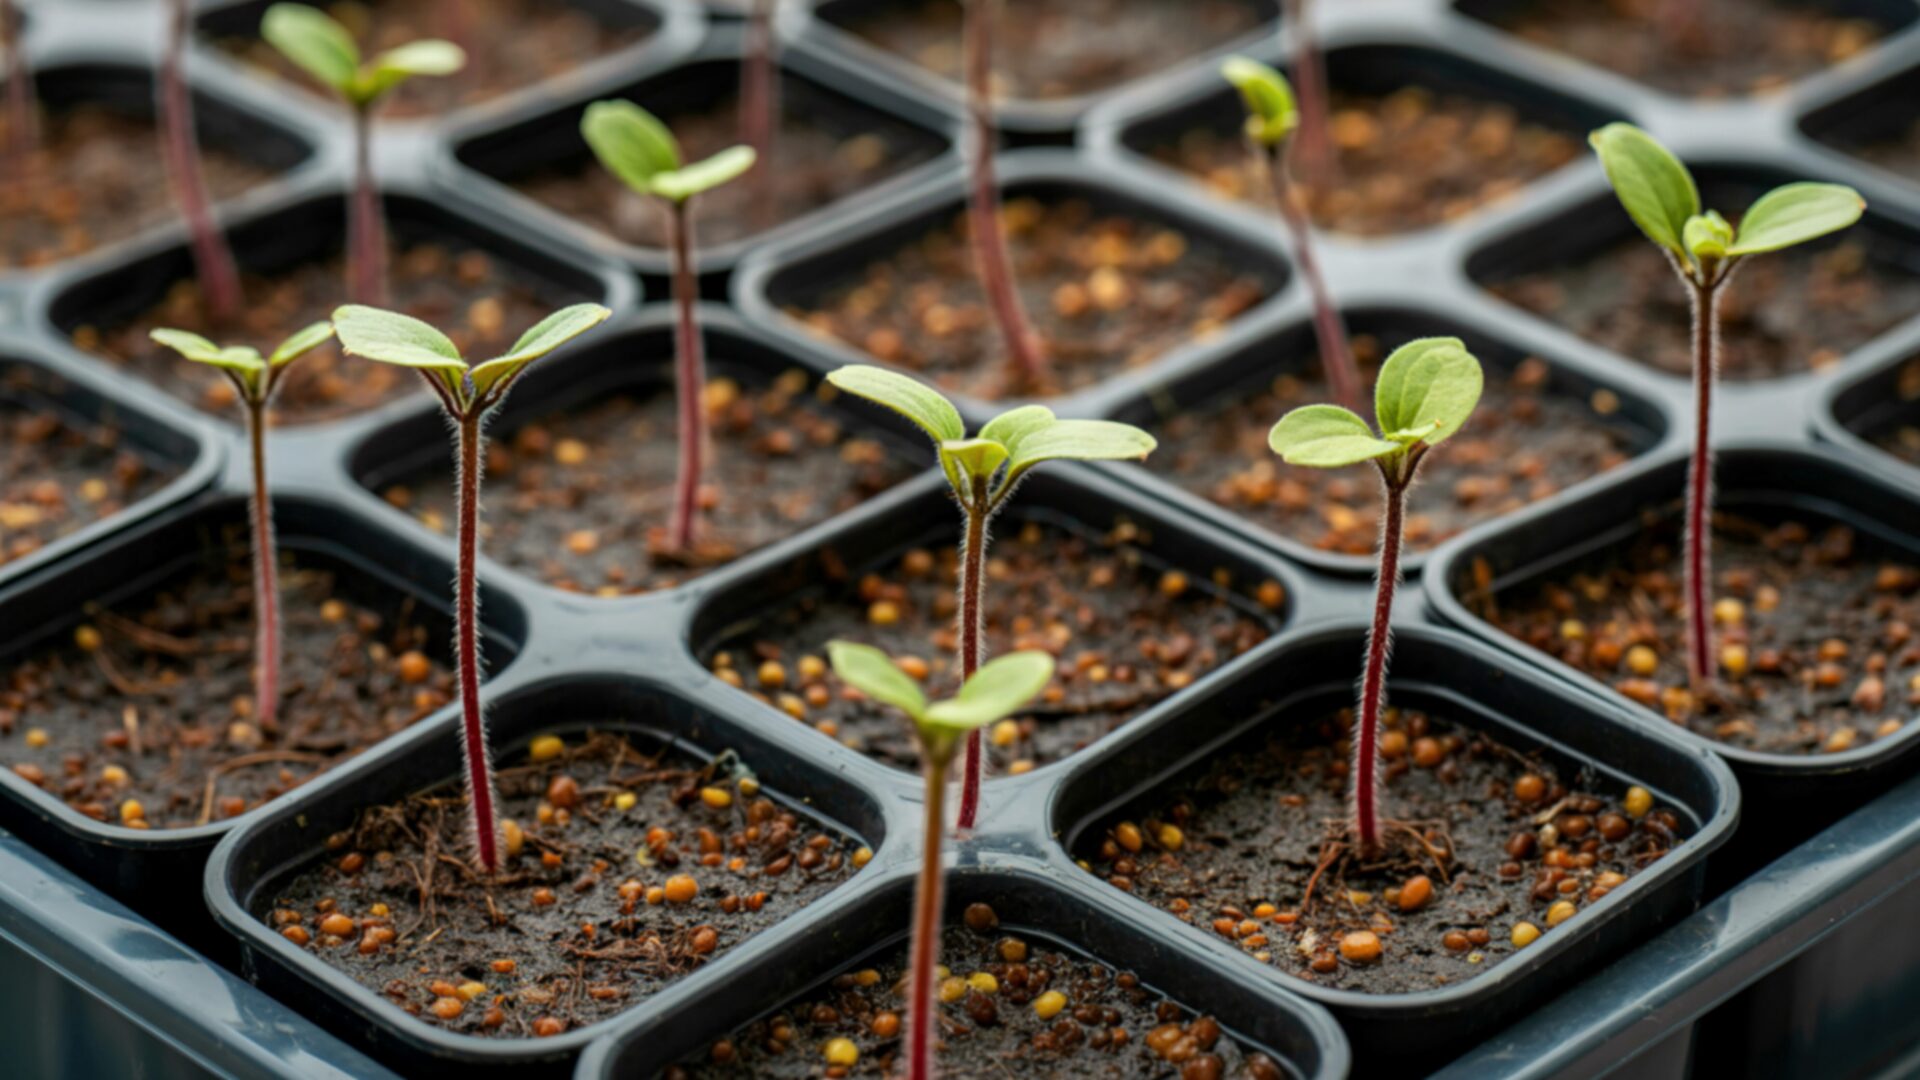
Even experienced gardeners encounter obstacles:
- Leggy Seedlings: Insufficient light causes weak stems. Adjust lighting or move seedlings closer to light.
- Overwatering/Underwatering: Both extremes harm seedlings. Keep soil consistently damp.
- Overcrowding: Too many seeds close together compete for resources. Thin seedlings after germination.
- Transplant Shock: Sudden changes can stress plants. Hardening off reduces risk.
- Temperature Fluctuations: Gradual exposure helps seedlings adapt.
- Pests: Seedlings are vulnerable to aphids, slugs, and other insects. Inspect regularly.
- Patience: Not all seeds sprout; 70% germination is common. Learn from setbacks and try again.
Seed starting combines preparation, observation, patience, and care. Each step offers an opportunity to experiment, learn, and enjoy nurturing plants from seed to maturity.
Reflection, Growth, and the Journey Ahead
Seed starting is more than a practical skill — it’s a metaphor for growth, change, and mindfulness. Each seed holds potential, teaching lessons about patience, care, and resilience. Failed seeds remind us that growth isn’t always linear; persistence and gentle attention are essential.
As plants mature, consider saving seeds for future seasons. Beginner-friendly options include calendula, sunflowers, and beans. Seed saving preserves plants adapted to your environment, reduces costs, encourages sustainability, and allows sharing with others. Each seed saved is a story, a lesson, and a gift.
Whether your seedlings grow into towering sunflowers, fragrant herbs, or vibrant vegetables, they reflect your care, curiosity, and patience. Planting seeds invites connection to nature, to your own growth, and to life’s cycles and draws on the kinds of practices explored in our Advanced Facilitation course. Start small, observe carefully, and enjoy the journey. One seed at a time, you cultivate not just a garden, but meaningful experiences. Learn more about our courses here.
Frequently Asked Questions
What seeds are easiest for beginners to start?
Easy beginner seeds include sunflowers, beans, peas, lettuce, and calendula. These plants germinate quickly and are more forgiving if watering or temperature conditions aren’t perfect.
When should I start seeds indoors?
Most seeds should be started 6–8 weeks before your region’s last expected frost date. Always check the seed packet instructions, as different plants have different timing requirements.
Do seeds need light to germinate?
Most seeds do not need light to germinate, but seedlings require bright light immediately after sprouting to grow strong stems and healthy leaves.
Why are my seedlings tall and weak?
Tall or “leggy” seedlings usually occur when plants don’t receive enough light. Moving seedlings closer to a window or using grow lights can help prevent this.
What is hardening off and why is it important?
Hardening off is the process of gradually introducing indoor seedlings to outdoor conditions over 1–2 weeks. This helps plants adjust to sunlight, wind, and temperature changes before transplanting into the garden.